
Controling an Extractor Fan with an ESP32, ESPHome and Home-Assistant
I recently needed an extractor fan for a project (resin 3d printing) and wanted to be able to control it (on/off/speed) using automations in Home-Assistant (eg: Starting a print make sure that the enclosure is closed and start the ventilation).
This fans I bought are those one from Amazon: 100mm, 6W, 221 m³/h, 9 to 24V DC. They are provided with a 9 to 24V DC power supply that’s adjustable with a potentiometer. That’s a good start.
Parts
Re-using the power supply
I chose to use the provided PSU and keep it outputing 24V (potentiometer set to the maximum) permanently. I cut the male barrel jack from the end of the cable and will re-use it later.
ESP32 operate at 3.3V, a motor driver is needed
The microcontroler I chose is an ESP32 Dev board, I have a lot in stock and implementing things using ESPHome’s YAML is really convenient if your are not trying to make something really complex.
In my case, interfacing with Home-Assistant using ESPHome also has the advantage of directly adding all the entities to my dashboards.
Since ESP32 operate at 3.3V, I chose the L298N double H-bridge Module: it’s affordable, easy to get and already documented widely online.
Other parts
Finally, I will certainly 3d Print some box for the electronic and maybe some sort of clamp for the extractor fan. I will also need wires, a soldering iron, etc. If you are reading this article, I believe you know what you are doing and wont go into details.
I will also use an external 5V PSU for the ESP32 and the control part of the L298N (since we use more than 12V, it needs a 5V supply).
Schematic
Here’s how I connected the various wires:
| L298N Pin | ESP32 Pin |
|---|---|
| 5V | VIN |
| GND | GND |
| IN2 | VIN |
| ENA | D33 |
| ESP32 Pin | 5VDC PSU Cable |
|---|---|
| 5V | PSU + |
| GND | PSU - |
| L298N Connectors | Extractor Fan PSU wires (9-24VDC) | Extractor Fan wires |
|---|---|---|
| OUT1 | - | Black Wire |
| OUT2 | - | Red Wire |
| +12V | Red Wire | - |
| GND | Black Wire | - |
(Diagram to be drawn, one day, maybe)
ESPHome Configuration
Here’s the YAML is used for my setup, some parts are optional feel free to comment/uncomment what you need or want.
esphome:
  name: extractor-fan-01
  friendly_name: Extractor Fan 01

esp32:
  board: esp32dev
  framework:
    type: arduino

# Enable logging
logger:

# Enable Home Assistant API
api:
  encryption:
    key: !secret api_key

ota:
  password: !secret ota_password

wifi:
  ssid: !secret wifi_ssid
  password: !secret wifi_password

  # Enable fallback hotspot (captive portal) in case wifi connection fails
  ap:
    ssid: !secret wifi_ap_ssid
    password: !secret wifi_ap_password

captive_portal:

# Webserver that display some informations about sensors & logs
# Convenient fallback if your H-A instance is down for whatever reason
web_server:
  port: 80
  auth:
    username: !secret web_server_username
    password: !secret web_server_password

# PWM Output for the FAN Controller
output:
  - platform: ledc
    pin: GPIO33
    id: extractor_fan_output
    # Zero mean off
    zero_means_zero: true
    # Anything bellow 40% will be equal to 40%
    min_power: 0.4

fan:
  - platform: speed
    output: extractor_fan_output
    name: "Extractor Fan"
    id: extractor_fan
    restore_mode: RESTORE_DEFAULT_ON
Conclusion
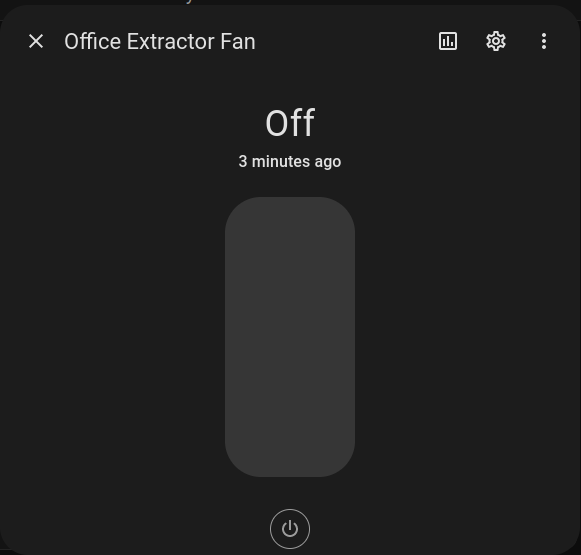
I now have a fan automatically added into Home-Assistant:
It was a quick, fun, easy and cheap project to make. I still need to design a nice 3d printable enclosure for the electronic, there’s also some presets that could be setup in ESPHome but that’s for another time.